MIGLIOR AUTOMOTIVE
The North West and Lancashire’s Premium Car detailing and Paint Correction / Scratch Removal Studio. Miglior was created to provide an extraordinary high quality detailing studio. Miglior, taken from the Italian “Migliore” meaning finest or unsurpassed, can provide your cherished car with the finest finish and an unsurpassed service.
We believe that our constant innovation and celebrated dedication serves to provide the ultimate all round experience for you and your pride and joy. Miglior Automotive operates out of our 3000 sq ft studio which provides the latest in workshop security to ensure total peace of mind. These include gated site, 24 hr CCTV and sophisticated monitored alarm with police response, if necessary.
What do we do?
Our Services
04.
Correction Detail
05.
Protection Detail
06.
Extras & Maintenance
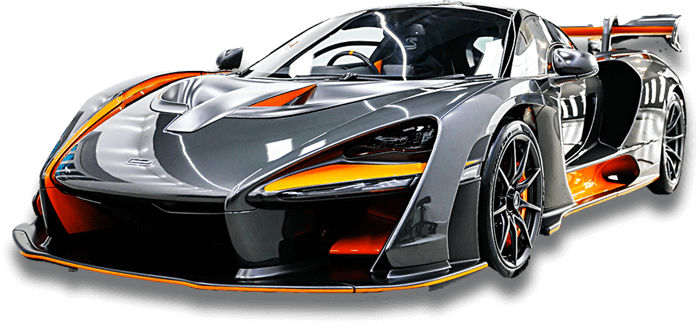
A significant portion of the work we carry out is on new vehicles. We regularly have vehicles drop in fresh from transport with all the packaging in place and not washed by the dealership! This gives us chance to apply our celebrated Glass Coatings and give your vehicle the best start in life!! Proper vehicle detailing from the start will always mean easier cleaning and your vehicle will stay in the best condition!
Portfolio
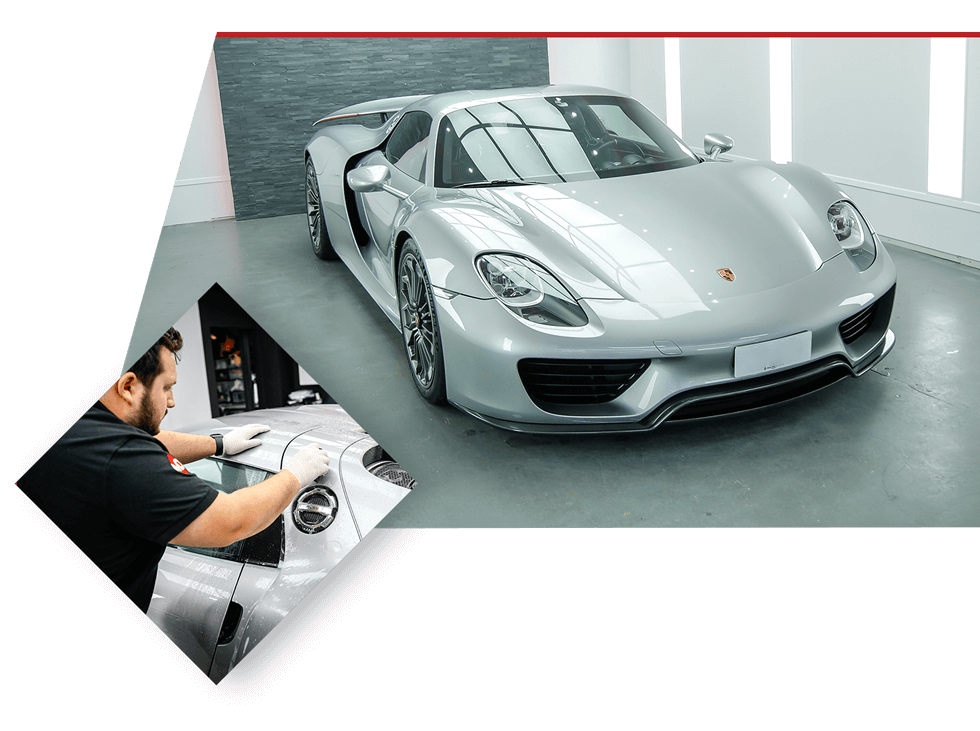
Porsche GT3RS in PTS Jet Green Metallic Receives Extensive Xpel PPF application
We started off with full cleaning all surfaces, decontaminating all areas prior to machine polishing and PPF application.
We then removed all the factory decals from the exterior of the paintwork and machine polished all the paintwork to give the maximum shine and depth to the paintwork.

What Our Clients Say
Testimonials
Having had two cars prepared for winter by Miglior I’d certainly use and highly recommend them again and again. Thanks John for a superb service.
Wayne Dodden, Telford, Shropshire

I have to say I could not recommend Miglior more highly, absolutely fantastic work.
Absolutely top quality work, the colour is a much deeper red now; it really transformed the look of the car.
Go on folks treat your ride to Miglior detailing, you deserve it.
Thanks again John!
Chris Martin, Berkshire
I have had two of my cars fully detailed by Miglior and each time they team has surpassed satisfaction ten times over. Both vehicles went in with the paint looking dull and lifeless, when Miglior had worked their magic the turnaround in both cases was impeccable. The director, Jay is a pleasure to deal with and leaves you feeling comfortable with your pride and joy in his possession. I plan to use Miglior’s service in the long term to make sure my car looks like it should.
Tom Marsh, Greater Manchester